What type of content do you primarily create?


Screen recording on a Chromebook turns your digital workspace into a powerful communication tool. Instead of wasting time with lengthy explanations or static screenshots that never quite capture what you mean, you can just show people exactly what you're talking about.
Whether you're creating tutorials, showcasing your work, or walking someone through a process, this guide will show you three straightforward ways to record your Chromebook screen:
- Using the Chromebook keyboard shortcut
- Using the built-in screen recorder on Chromebook
- Using a Chrome browser extension to record your screen
Configure Chromebook permissions and troubleshooting steps
Chromebooks offer granular privacy settings, allowing you to pick which apps can record your screen and microphone. If you’re having trouble capturing content, you might need to adjust permissions by heading to Settings > Privacy and security > Privacy. For example, you can manage camera and microphone access so your screen recorder can capture audio. If screen recording stops working unexpectedly, it may help to reset your browser settings or remove conflicting extensions. It’s also important to keep your Chromebook up to date, as new software versions often fix bugs. Ensuring your privacy settings are correct and your system is current can resolve most recording errors in a hurry.
How to screen record on Chromebook with shortcuts
You can record screen activity on a Chromebook quickly and easily with a few keyboard shortcuts or the built-in screen recorder. Here's how to capture whatever's happening on your screen.
Press Shift + Ctrl + Show windows (rectangle-shaped icon with two vertical lines in the function row). Depending on your Chromebook model, you can use the Screenshot key (small camera icon) on the right side of the Show windows key. This keyboard shortcut opens the screen capture menu.
 |
Select Screen record (video camera icon) in the screen recording options from the menu at the bottom of the screen.
 |
Then, select one of these screen recording options:
- Full screen to record the entire screen
- Partial screen to record a portion of the screen
- Entire window to record the app or browser window you're currently working in
When you're finished, click Stop recording at the bottom right. Your screen recording will be automatically saved in your Downloads folder. Chromebook hard drives have limited storage capacity, so the device will sometimes delete downloaded files to free up space. Press the Ctrl + Shift + Show windows keys, select Settings > Select folder, then save the file to an external storage or cloud storage like Google Drive to ensure you don't lose your recordings.
Note: By default, Chromebook saves video recordings as WEBM files, but you can convert them to MP4 files for easier sharing and compatibility with more devices and platforms.
Advanced recording controls for Chromebooks
Some third-party screen recording extensions offer advanced controls like scheduling, partial or full screen capture, and adjustable audio levels. These features let you capture high-resolution tutorials or presentations without extra clutter or background noise. If you’re noticing choppy footage, consider updating your device since Chromebook updates can optimize performance. An external microphone can further enhance quality by filtering out unwanted noise and ensuring a crisp voiceover. By mixing and matching these features, you can produce professional-grade videos right from your Chromebook.
How to use Chromebook's built-in screen recorder
You can also record your screen using the built-in Chromebook screen recorder tool (available on Chrome OS 89 or newer versions). This method offers more recording options and settings than the keyboard shortcut method.
Here's how to use Chromebook's screen recording feature.
Click the clock in the quick settings panel on the bottom-right corner of your screen, then select the Screen Capture button to open the Screen Capture toolbar.
 |
Choose whether you want to record full screen, partial screen, or the entire window. Then click Settings (gear icon) and choose whether you want to record your microphone with the system audio. You can select both to capture your voice narration along with any sounds playing on your Chromebook.
Click the Record button (video icon) to record your screen. When you're finished, click the Stop button to stop the screen recording.
How to screen record on Chromebook with extensions
Browser extensions add custom functionality to your core browser, allowing you to take notes, block ads, manage passwords, and record your screen with more advanced features than the built-in tools.
There are plenty of reliable browser extensions in the Google Chrome web store for recording your screen on a Chromebook.
When choosing a browser extension for screen recording, check whether it offers:
- Flexible recording time limits
- Easy sharing options
- Watermark-free recordings
- Voiceover/narration
- Flexibility to record on any screen size
- Video editing capabilities
For this guide, we'll show you how to record your screen using the Loom Chrome Screen Recorder & Screen Capture extension.
Here's how to use Loom's browser extension to screen record on a Chromebook.
Go to the Loom Screen Recorder & Screen Capture Chrome extension page and select Add to Chrome.
Note: You'll need to switch to Google Chrome browser and a reliable Wi-Fi connection to install extensions and themes.
Click Add Extension.
Create a Loom account if you don't have one already, then click the Extensions tool (puzzle icon) in the top right corner of your browser window. Then, select the pin tool next to the Loom logo icon to pin the Loom extension to your window.
 |
Click the Loom logo icon in the browser window to initiate a recording.
Grant access to your microphone and camera before you start recording your screen. You'll need to approve permission requests when prompted to ensure the extension can access these features.
 |
You can choose to record video with or without audio or record audio only. Then, decide what part of your screen you want to capture—full screen, a specific window, or current Chrome tab—and click Share. These options give you flexibility for different recording scenarios.
 |
Then, click the Start Recording button.
 |
Click the Stop button to stop the recording.
 |
When you're done, review your recording, save it to your device or Loom account, or share it with your audience.
How to screen record in one take with Descript
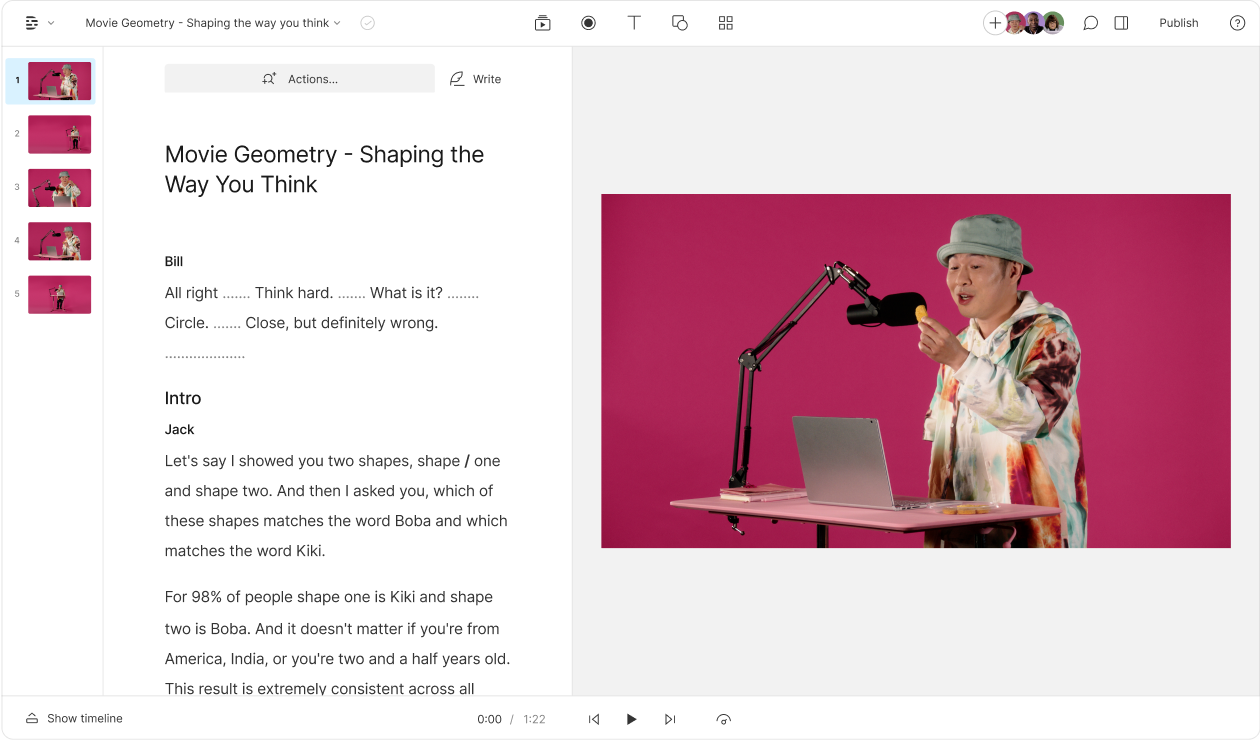
Sometimes, you want a screen recorder that does it all: records audio and video, generates a transcript, and lets you edit and share your screencast with your audience. For more complex screen recording projects, a dedicated tool might be necessary.
Descript is an all-in-one audio and video editor with a full suite of advanced features for creating and producing videos like a pro.
With Descript's screen recording tool, you can capture the activity on any part of your screen in high-quality resolution. As you record, Descript will generate an instant transcript of your recording, which you can use to edit your video like a doc. Enhance the recording using Descript's AI features, then add effects and transitions before sharing it with your audience.
The unique text-based editor means you can screen record in one take, deleting bad takes and filler words by simply deleting them from the transcript.
Note: Descript is currently only available for Windows and Mac. Chrome OS users can still access most features using Descript for web, except screen recording at this time.
1. Create a new project in Descript
Download and install Descript, then open the app and select New to create a new project. Select Video Project.
 |
2. Record your screen
Select Start Recording.
 |
Choose whether you want to record using your camera or screen. You can also disable your computer audio and choose your preferred microphone.
 |
Adjust the screen recording settings and give your video a title, so it's easy to find it later. Then, select Record into script to start recording your screen.
 |
You can drag the corners of the screen recording area to choose which part of your screen to capture, then click the red Start Recording button.
 |
Descript will auto-generate a script for your video as you record. When you finish recording, click the red Stop button.
 |
Then, you can edit your screen capture right inside Descript. With a free account, you can adjust:
- Color Balance: Match colors from the end of your video to the beginning.
- Transitions: Add cuts, fades, dissolves, and other types of transitions into your screen capture.
- Overlays: Add text, stickers, or your watermark to create a branded video.
 |
3. Export or publish your video
When you're done editing your recording, click Publish to access the Export and Publish settings.
 |
Select the Export tab to adjust the audio, timeline, transcript, or subtitle settings. Then click Export to save your video to your device. Descript will save your video in MP4 file format.
 |
To share your video, click the Publish tab, choose where you want to publish your video (YouTube, Wistia, or podcasting platforms), then change project access and sharing settings. Click Publish.
 |
You can also generate a link for sharing your video recording anywhere or embedding the video in a PowerPoint presentation or website.
Thousands of video creators already rely on Descript for high quality screen capture and video editing. If you're ready to join them, take a tour of Descript today.
Chromebook screen recording FAQs
How do I screen record with or without audio?
You can screen record with audio on Chromebook using any screen recording tool. Select whether to record your camera or screen, then choose your preferred microphone before recording. For the built-in recorder, click the Settings (gear icon) and enable microphone recording. If you want to record without audio, disable your computer audio, then record your screen.
How do I stop my screen recording?
Whether you're screen recording in Windows, Mac, or Chromebook, you can stop the recording by selecting the Stop button in the screen capture toolbar.
Where are my Chromebook recordings saved?
By default, Chromebook saves video recordings in the Downloads folder. However, Chromebook hard drives have limited storage capacity, so your device may sometimes delete downloaded files to free up space. To change where recordings are saved, press Ctrl + Shift + Show windows keys, select Settings > Select folder, then save to an external drive or cloud storage, like Google Drive to ensure you don't lose your recordings. You can also organize your recordings into folders based on projects or dates to make them easier to find later.
Which Chromebook screen recording method is best?
You can screen record on Chromebook using the built-in screen capture tool, keyboard shortcuts, or browser extensions depending on your needs. The built-in tool works well for basic recordings, while extensions offer more features for frequent recording. If you want more advanced screen recording and video editing features, use Descript. The fully-powered audio and video editor comes with a screen recording tool that captures any part of your screen in high-quality resolution, then you can add transitions, effects, music, animation, and titles, before exporting or publishing your video to YouTube, Wistia, or podcast hosting platforms.
Why can't I record my Chromebook screen even after granting permissions?
Sometimes a misconfigured browser extension or outdated OS can block screen recording on your Chromebook. Try resetting your browser to default settings or updating your device to fix hidden conflicts. Also ensure that your privacy settings are configured so all relevant apps have camera and microphone access.
Can I schedule a screen recording on Chromebook?
Some extensions allow you to set a timer or schedule recordings, so you can capture content automatically. Though there isn’t a native timer in the built-in Chromebook recorder, you can explore third-party tools that support this feature. By pairing these tools with an external microphone, you can produce high-quality videos with clear audio.


%201.svg)


